How to create an Android address book in Ozeki Bulk Messenger Software
The Google Android operating system is one of the most popular systems in the world. Creating contacts on your Android smartphone is pretty simple but adding them to an Ozeki Bulk Messenger Android Address book is even more easier. In this tutorial I will show you how to connect to your Android address book in Ozeki Bulk Messenger software.
Step 1 - Open the Ozeki Bulk Messenger Android Application
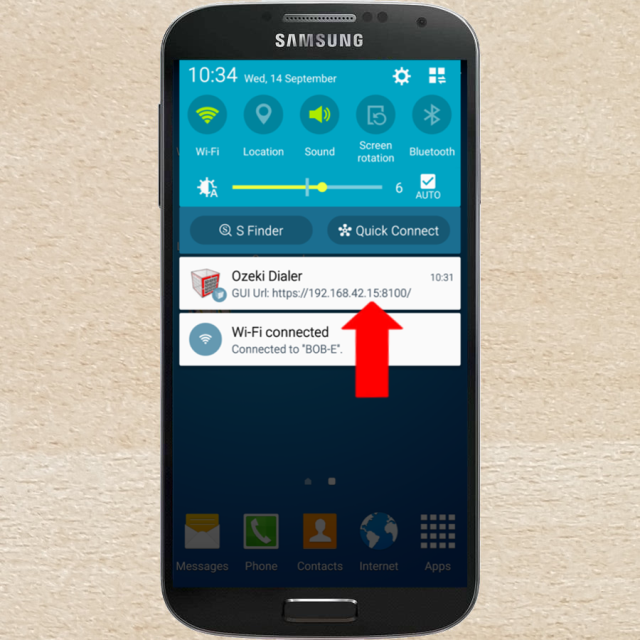
After you click on the app's icon you can see that Ozeki Bulk Messenger appeared at the notification bar which cannot be cleared as the program is always running in the background. If you want you can force stop it in the Application manager.
Step 2 - Click on 'Get started'
After opening the program you can see the 'Home page'. Click on the 'Get started' button in order to setup your Android based Dialer.

If your device is running on Android 4.4 you will have to select in which browser you would like to open the dialer. We suggest using Google Chrome.
If your device is compatible with android 5.0 or above, you should update it to access the full potential of the software.
Step 3 - Create an Android address book
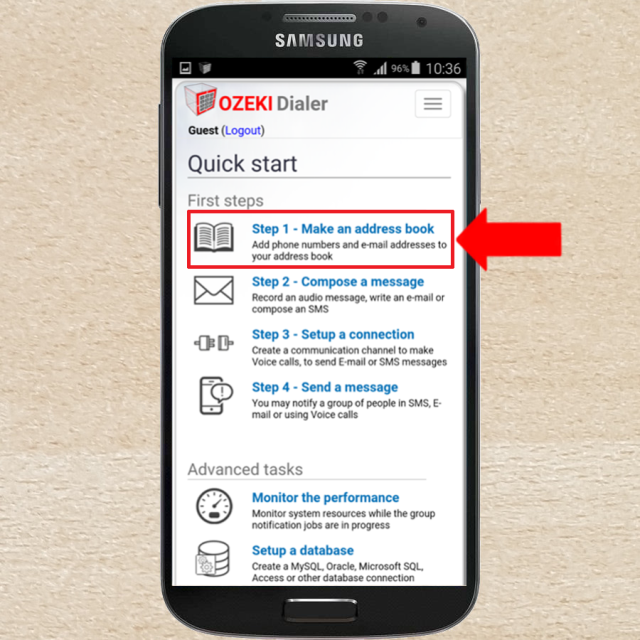
This is the 'Quick start' page of the software. Here you can see how you can setup your Ozeki Bulk Messenger step by step. In the 'First steps' menu click on 'Step 1 - Make an address book'.
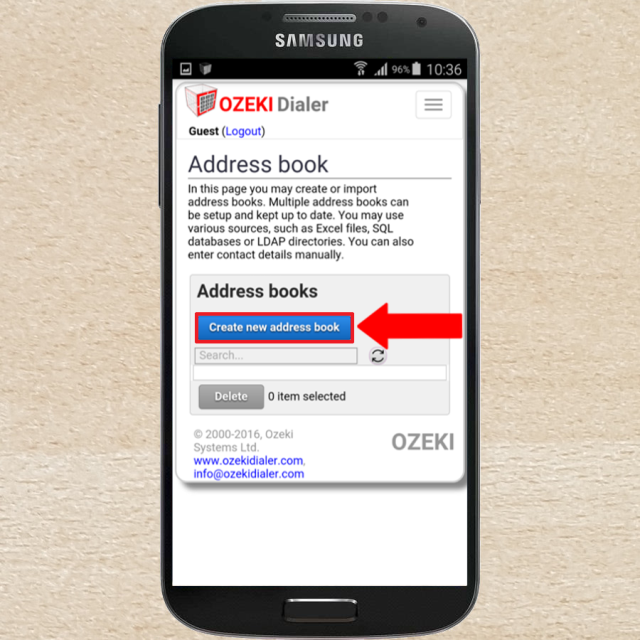
On the new page click on the 'Create new address book' button.
After that, the types of address books can be seen. Select the 'Android' one.
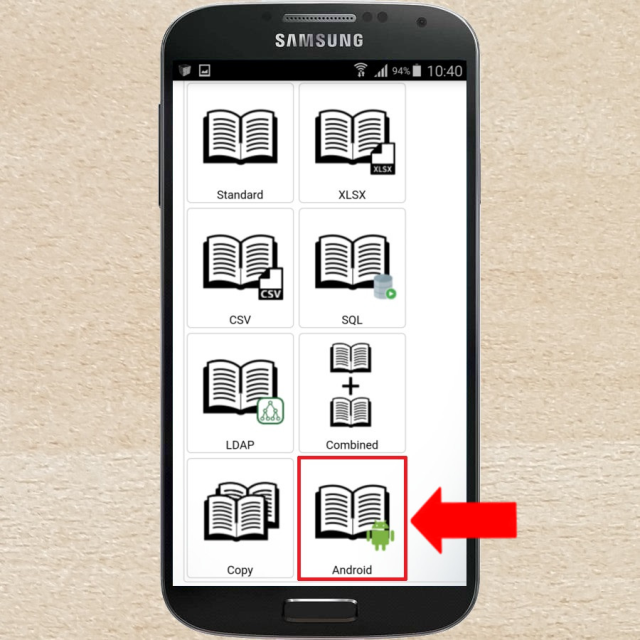
Step 4 - Name the Android Address book
At 'Address book name' add a unique name for the book.At 'Group' you can select which type of contacts you would like to include. For example if you would like to add co-workers only, you have to select co-workers. This depends on the contact groups you have previously created on your Android device.
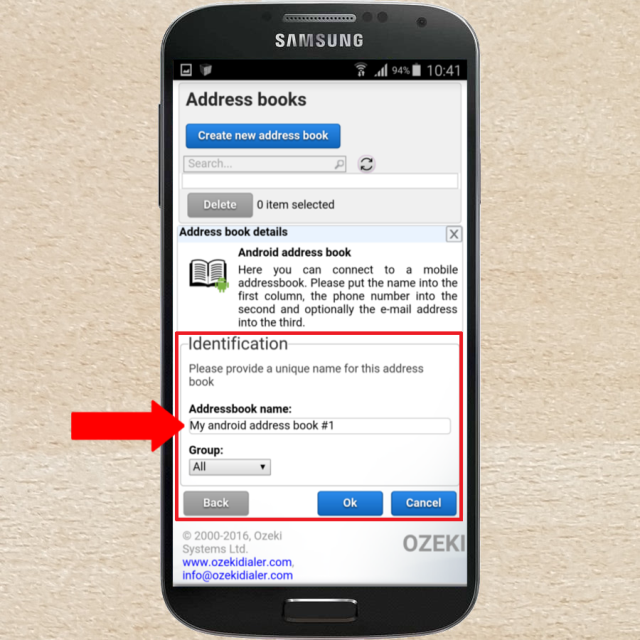
Step 5 - Managing your contacts
After you have created your address book, it appeared in the list. Click on the 'Contacts' button to see details of your contacts.
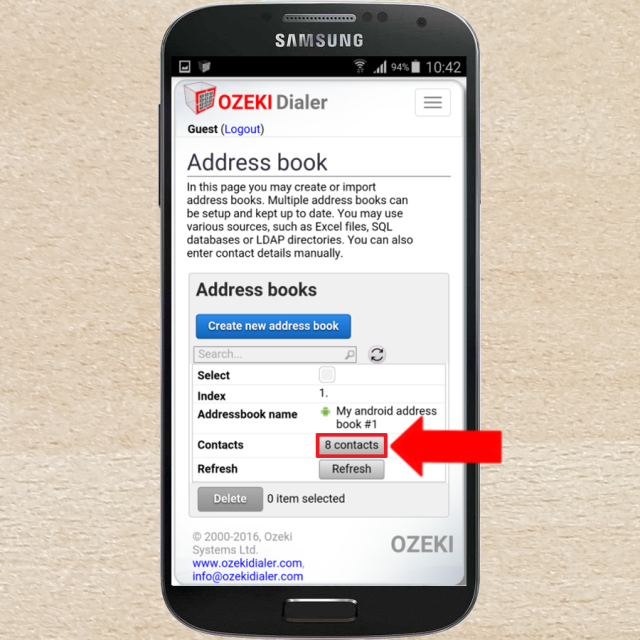
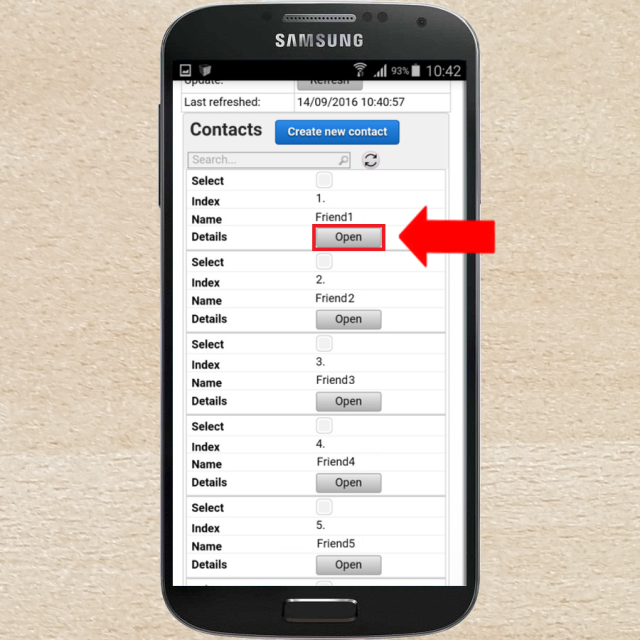
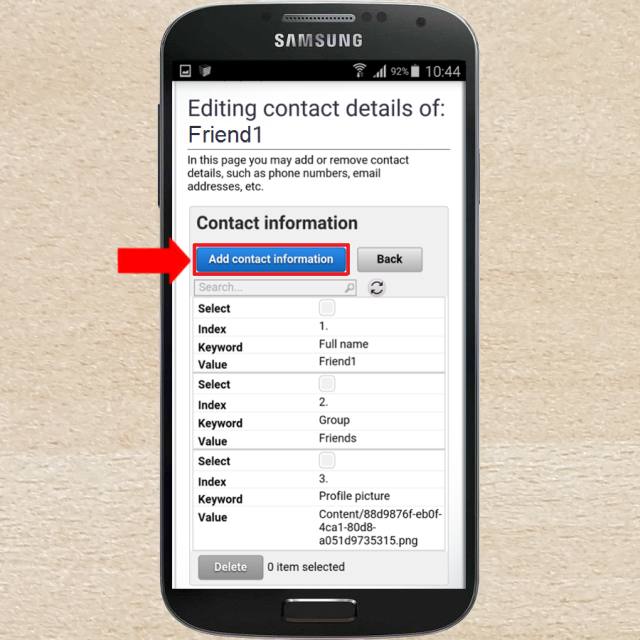
In the 'Contact information' window by clicking on 'Add contact information' you can provide more details about the selected contact.
