HTTP Authentication Provider in Ozeki Bulk Messenger
With a HTTP Authentication Provider you can give your userbase login rights to Ozeki Bulk Messenger. With HTTP Authentication Provider you can give them all or a portion of them access permissions. For whom you grant access to is your decision. This tutorial shows how to use the HTTP authentication process through the creation and usage of the HTTP Authentication Provider.
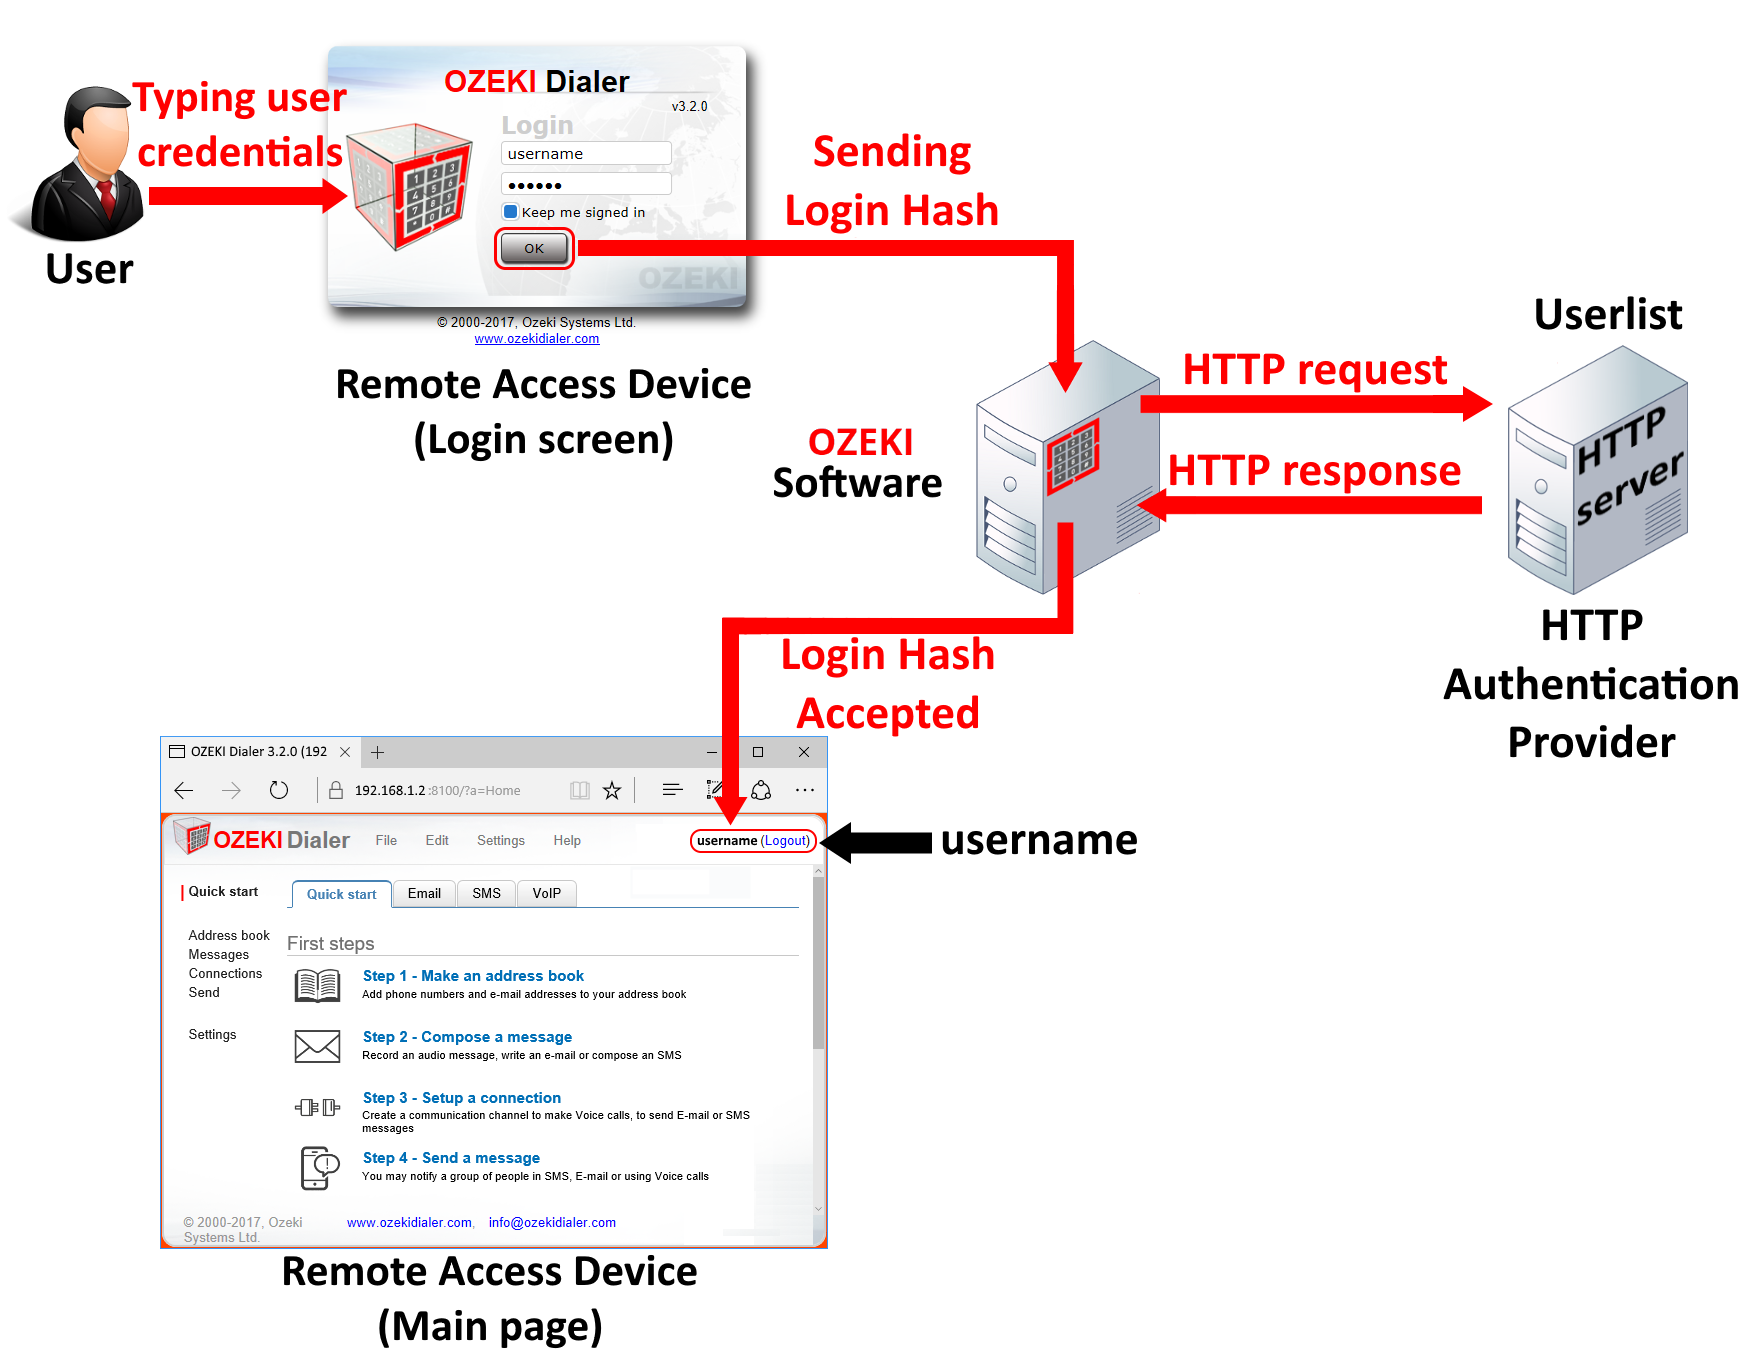
When a user logs in with his or her credentials, the hash of the username, password pair is sent to the Ozeki Software. The software checks if the user details can be found in the standard authentication provider. If not then it continues searching through the registered HTTP authentication provider if any with a HTTP request/respond pair (Figure 1).
Get started
For this tutorial you need to download and install Ozeki Bulk Messenger. During the installation process you will be asked to provide details for the user's account. These details contain the username and password which you will need to use for your first login.
 |
Ozeki Bulk Messenger can be obtained by opening the download page: Download Ozeki Bulk Messenger! |
You will also need a HTTP webserver which will approve the user credentials during the HTTP authentication. In this tutorial you will see example PHP codes for your webserver. In Ozeki Bulk Messenger you can set what kind of response you would like from your webserver. For example the response can be: Login accepted
STEP 1 - Go to authentication providers
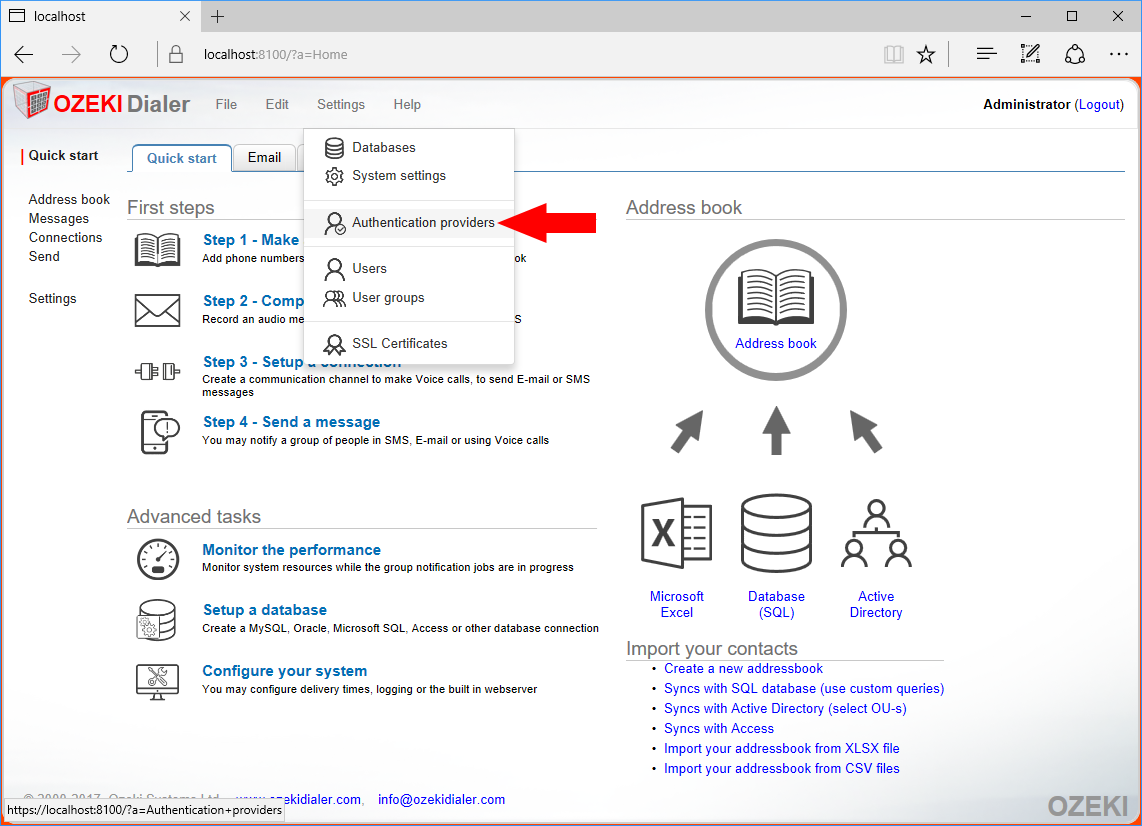
After you have logged in with the same user credentials you have provided during the installation you should find yourself on the main page. Now you will see where to configure the HTTP authentication provider. Please select 'Settings/Authentication provider' from the top menu (Figure 2).
STEP 2 - Create new HTTP Authentication Provider
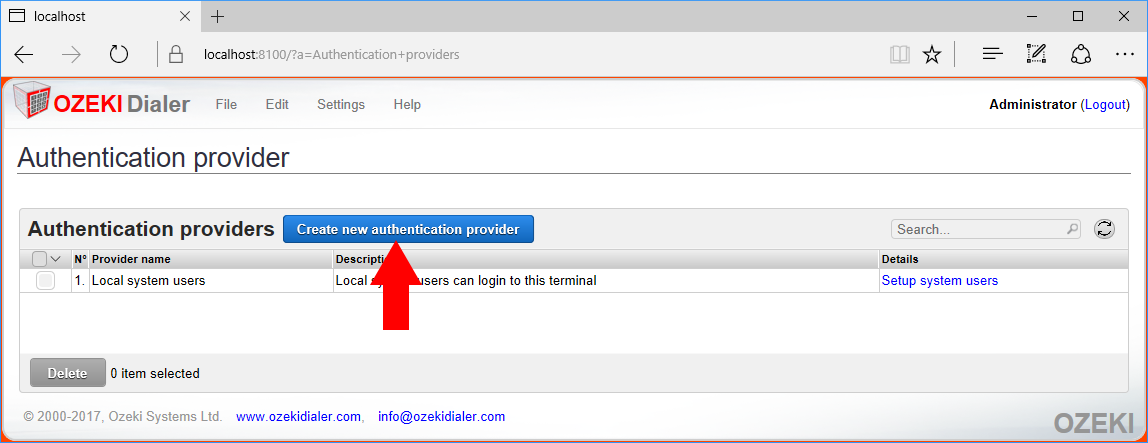
You will find yourself on the list of authentication providers. Currently the only registered authentication provider is the 'Local system users' which is the standard authentication provider. Click the blue 'Create new authentication provider' (Figure 3) to create a new one.
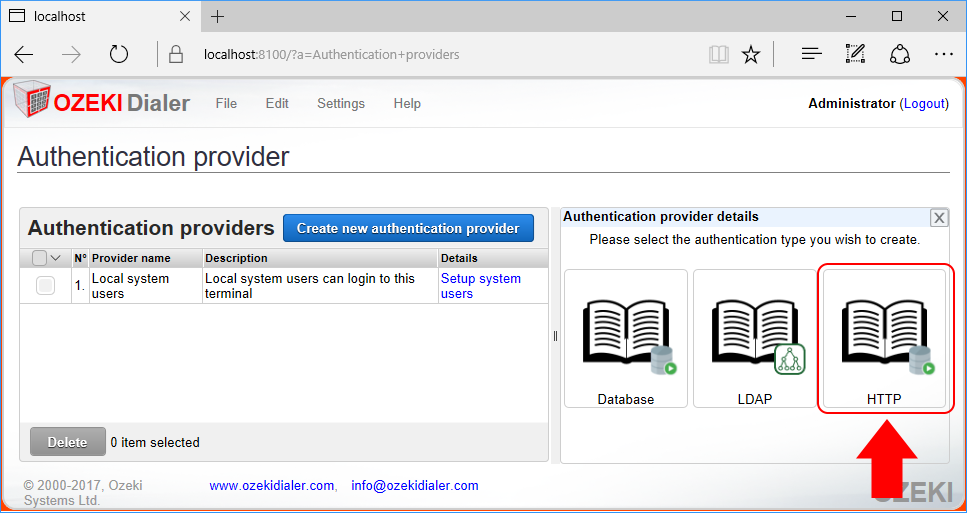
If you have clicked 'Create new authentication provider' an authentication provider selection tab will open on the right side of the screen. Please select 'HTTP' (Figure 4) which is the configuration form of the HTTP authentication provider.
It is time to write your PHP script and fill out the HTTP authentication form in Ozeki Bulk Messenger. If you are experimenting on the field we advise to install a Wampserver which is a HTTP and SQL server. Please make sure that port 80 is free for your HTTP server. Wamp uses Apache for HTTP. If the Wamp icon is green, the server is fully functional and you can write your PHP code. This is the default directory for the scripts: 'C:\wamp64\www'. We have named the example file 'HTTP_response.php' (Figure 5).
PHP example
The example HTTP request set for Ozeki Bulk Messenger logins:
http://192.168.112.23/HTTP_response.php?remotelogin=${OZEKILOGINHASH}
The example HTTP response Ozeki Bulk Messenger is waiting for:
Login accepted
Here you can see the PHP example code:
<?php
$remotelogin = ''; //the HTTP parameter of the OZEKILOGINHASH
$array = array(
    "Ozeki" => "462ac6d8aadf8b8f909d859c4aa696fa", //passw 12345
    "Dialer" => "0122909e26514a960b77c403b967c579" //passw qwe123
);
if(isset($_REQUEST['remotelogin'])) $remotelogin = $_REQUEST['remotelogin'];

if($remotelogin == $array["Ozeki"] || $remotelogin == $array["Dialer"])
	echo 'Login accepted';
else
	echo 'Login refused';
?>
OZEKILOGINHASH contains an encrypted username and password pair. Comparing the OZEKILOGINHASH with your OZEKILOGINHASH-ed user list can help authenticate logins.
Return to Ozeki Bulk Messenger
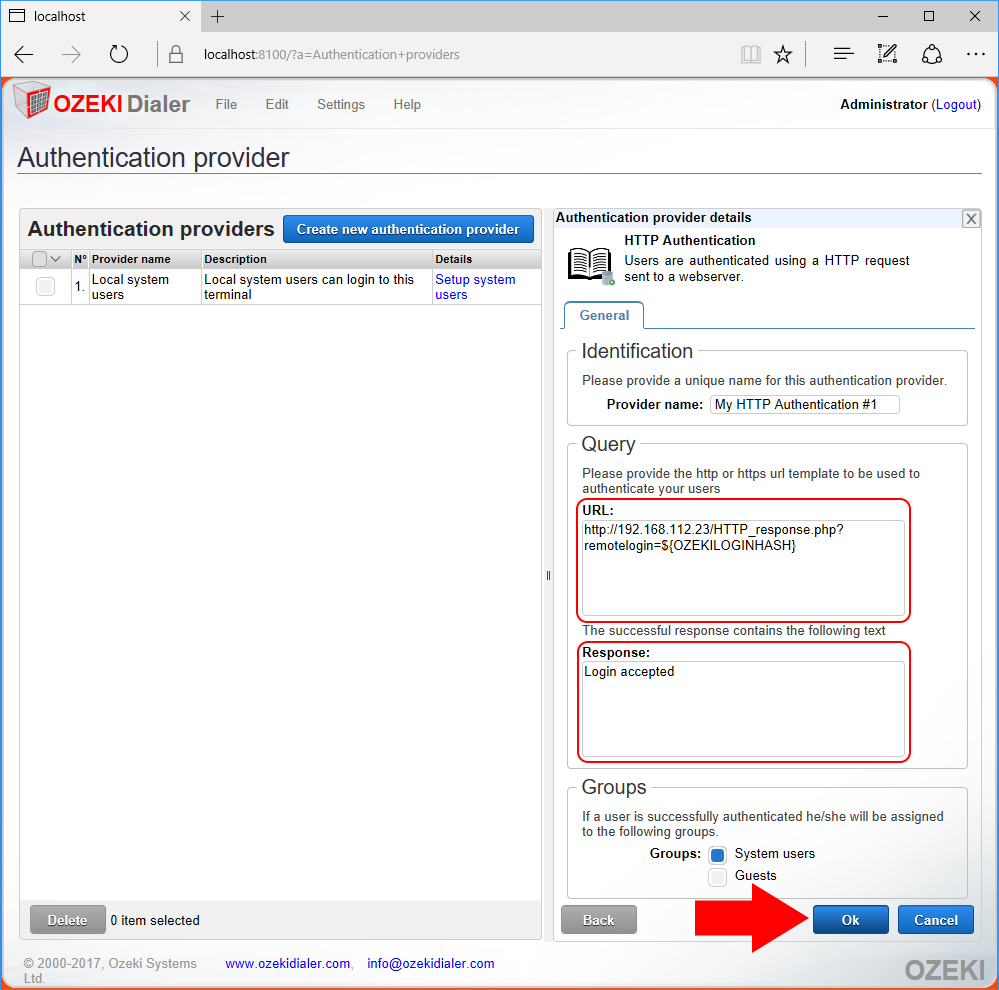
Please fill the HTTP Authentication Provider form (Figure 6) depending on your HTTP server IP and PHP file name. It is essential to set OZEKILOGINHASH as a HTTP parameter. You also need to provide the correct HTTP response Ozeki Bulk Messenger should wait for.
When you are ready click 'Ok'.
Congratulations! The HTTP Authentication Provider is created. You can try it out.
STEP 3 - Test your HTTP Authentication Provider
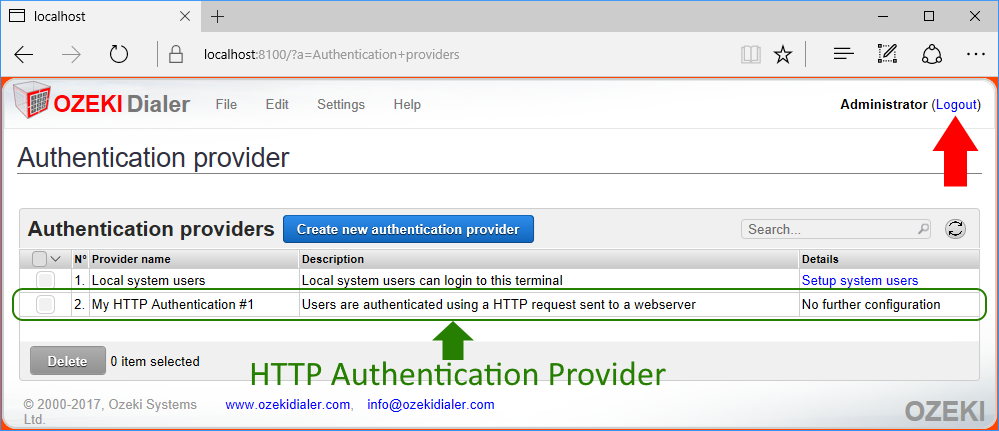
You can see your HTTP authentication provider added to the end of the authentication provider list (Figure 7). So let us test the communication. Please logout to check if Ozeki Bulk Messenger let's you in with one of the username, password combo authorized by your HTTP server.
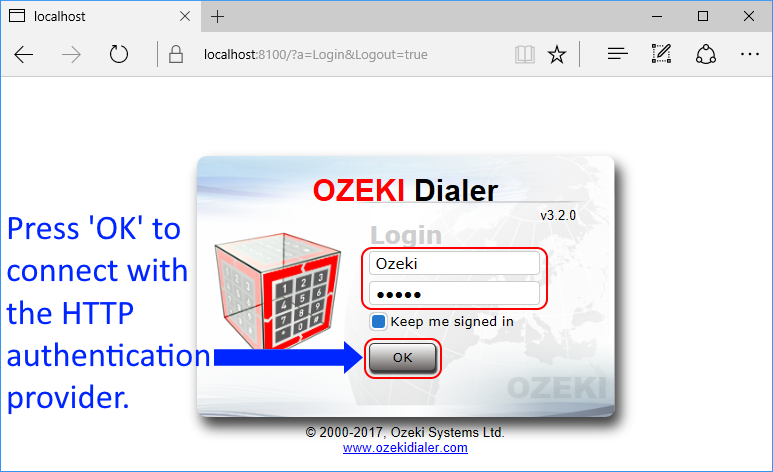
If you go back to the PHP script you can see that the 'Ozeki' username with password '12345' should work. After typing the username, password combo, click 'OK' (Figure 8) Ozeki Bulk Messenger will send the 462ac6d8aadf8b8f909d859c4aa696fa ozekiloginhash to your HTTP server. If the HTTP server finds a user with the same ozekiloginhash then the access is granted.
To make it more professional you can connect your HTTP server to an SQL database containing the userlist and generate the ozekiloginhash -es from the userlist.
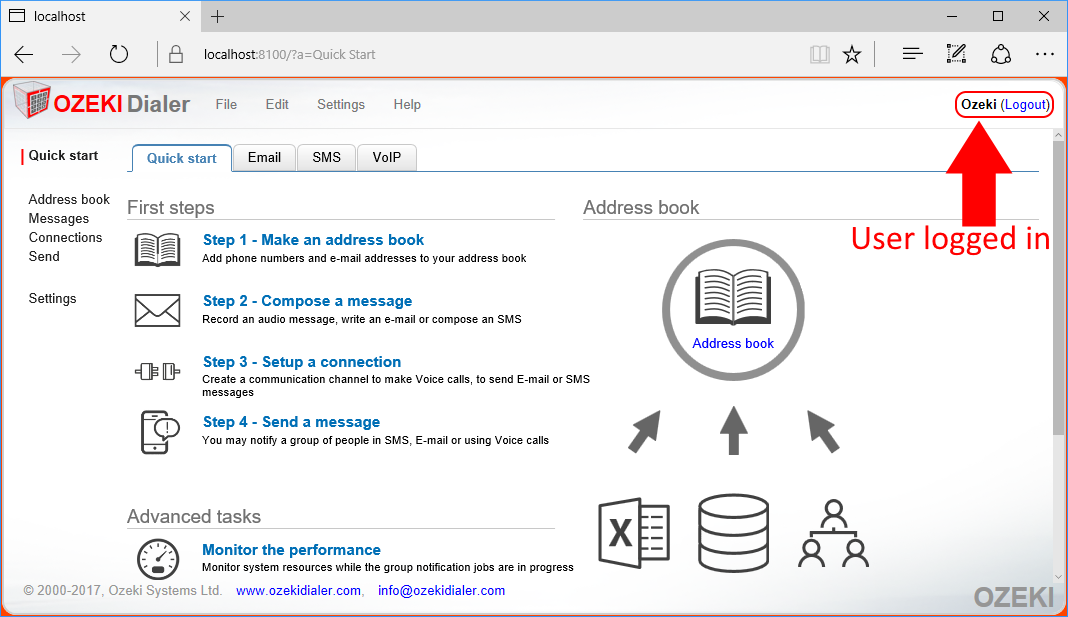
If the HTTP server knows about the username and password pair then it will send a response to Ozeki Bulk Messenger. You can see that you are logged into Ozeki Bulk Messenger if the username appears on the top right corner of the page (Figure 9).
